
 by
by Blenders are multipurpose and indispensable kitchen tools that allow you to quickly and easily make tasty soups, sauces, smoothies, and more. But blenders, like any other equipment, need regular servicing to keep working efficiently. To ensure that your blender continues to function well for many years to come, we’ve compiled a list of essential blender maintenance tips and tricks for your convenience.
Maintenance for Your Blender
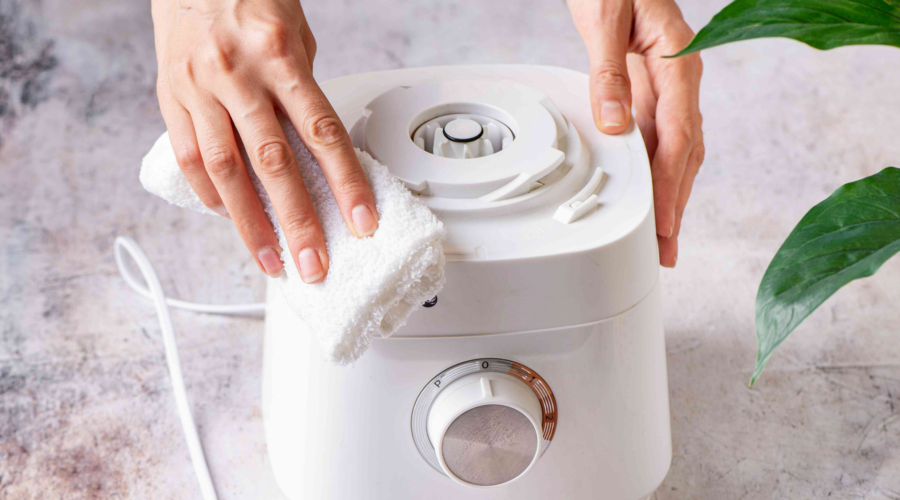
The blender’s cleanliness is one of the most critical parts of its upkeep. Always make sure to give your blender a good cleaning after each use. Before you start blending, empty the contents of the blender jar into a discard bin. For tough odors or stains, rinse the jar thoroughly with warm water and a mild dish soap.
Since the blender’s blades are the most important component, focus on them. You can gently remove any residue buildup on the blades using a small brush or toothbrush. Always exercise extreme caution when working with blades to prevent injury.
Take your blender apart, clean each part, and let it air dry completely before putting it back together. Do not skip this step—any remaining moisture can lead to mold or electrical damage.
For a more detailed guide on cleaning techniques, visit Good Housekeeping’s blender cleaning guide.
You can also explore our internal post on Kitchen Appliance Care Tips to keep all your gadgets spotless and long-lasting.
Parts of the Blender That Need Lubrication
Consistent lubrication ensures smooth functioning and a longer lifespan for your blender’s parts. The blades’ continuous motion can eventually wear out the housing.
For safety reasons, unplug your blender before lubricating any components. Carefully unscrew the blade assembly from the jar, then apply a small amount of mineral oil or food-grade lubricant to the shaft connecting the blades to the housing.
Be careful not to use too much oil, as it can drip into your food during blending. After applying the oil, reassemble the blade assembly and secure it firmly. Plug in the blender and run it briefly to distribute the lubrication evenly.
If you’re unsure about which lubricants to use, check this helpful guide from WikiHow on maintaining blenders.
Knife Sharpening for Blender Use
Blender blades can become dull with regular use, resulting in inefficient blending and uneven textures. Sharpening your blender blades regularly will keep them running smoothly and extend the appliance’s performance.
The first step to sharpening your blender’s blades is to remove them carefully. Inspect each blade thoroughly for damage or wear. If you notice chips or cracks, it’s best to replace them instead of sharpening.
For blades that are dull but intact, use a sharpening stone or ceramic honing rod. Hold the blade at a slight angle and gently rock it back and forth across the surface. Always follow safety precautions when handling sharp objects.
After sharpening, clean the blades well to remove any metal residue. Allow them to air dry completely before reassembling the blender.
Learn more about safe blade sharpening techniques from CNET’s blade maintenance guide.
Keep Your Blender Safe and Properly Stored
Proper storage—often overlooked—greatly impacts the longevity of your blender. When not in use, place your blender in a dry, clean location out of the reach of children and pets.
Consider using a dust cover or covering the appliance with a clean cloth to prevent dust buildup on the jar and base. Avoid placing heavy items on top of your blender, as it contains fragile components.
If you’re storing your blender for an extended period, disassemble it first. Store each component separately to keep them dry and safe from insects or damage.
For additional ideas on organizing your kitchen efficiently, read our internal post on Smart Kitchen Storage Solutions.
Final Thoughts
By following these essential blender maintenance steps, you can extend the life of your appliance and keep it performing as expected. Clean, lubricate, sharpen, and store your blender properly to ensure it delivers perfect results every time. A well-maintained blender not only saves you money but also enhances your culinary experience with consistently smooth and delicious recipes.
Ready to make the most of your kitchen tools? Don’t miss our helpful guide on Home Appliance Maintenance for more home improvement and care tips.